Fixing an oscilloscope
06-04-2020
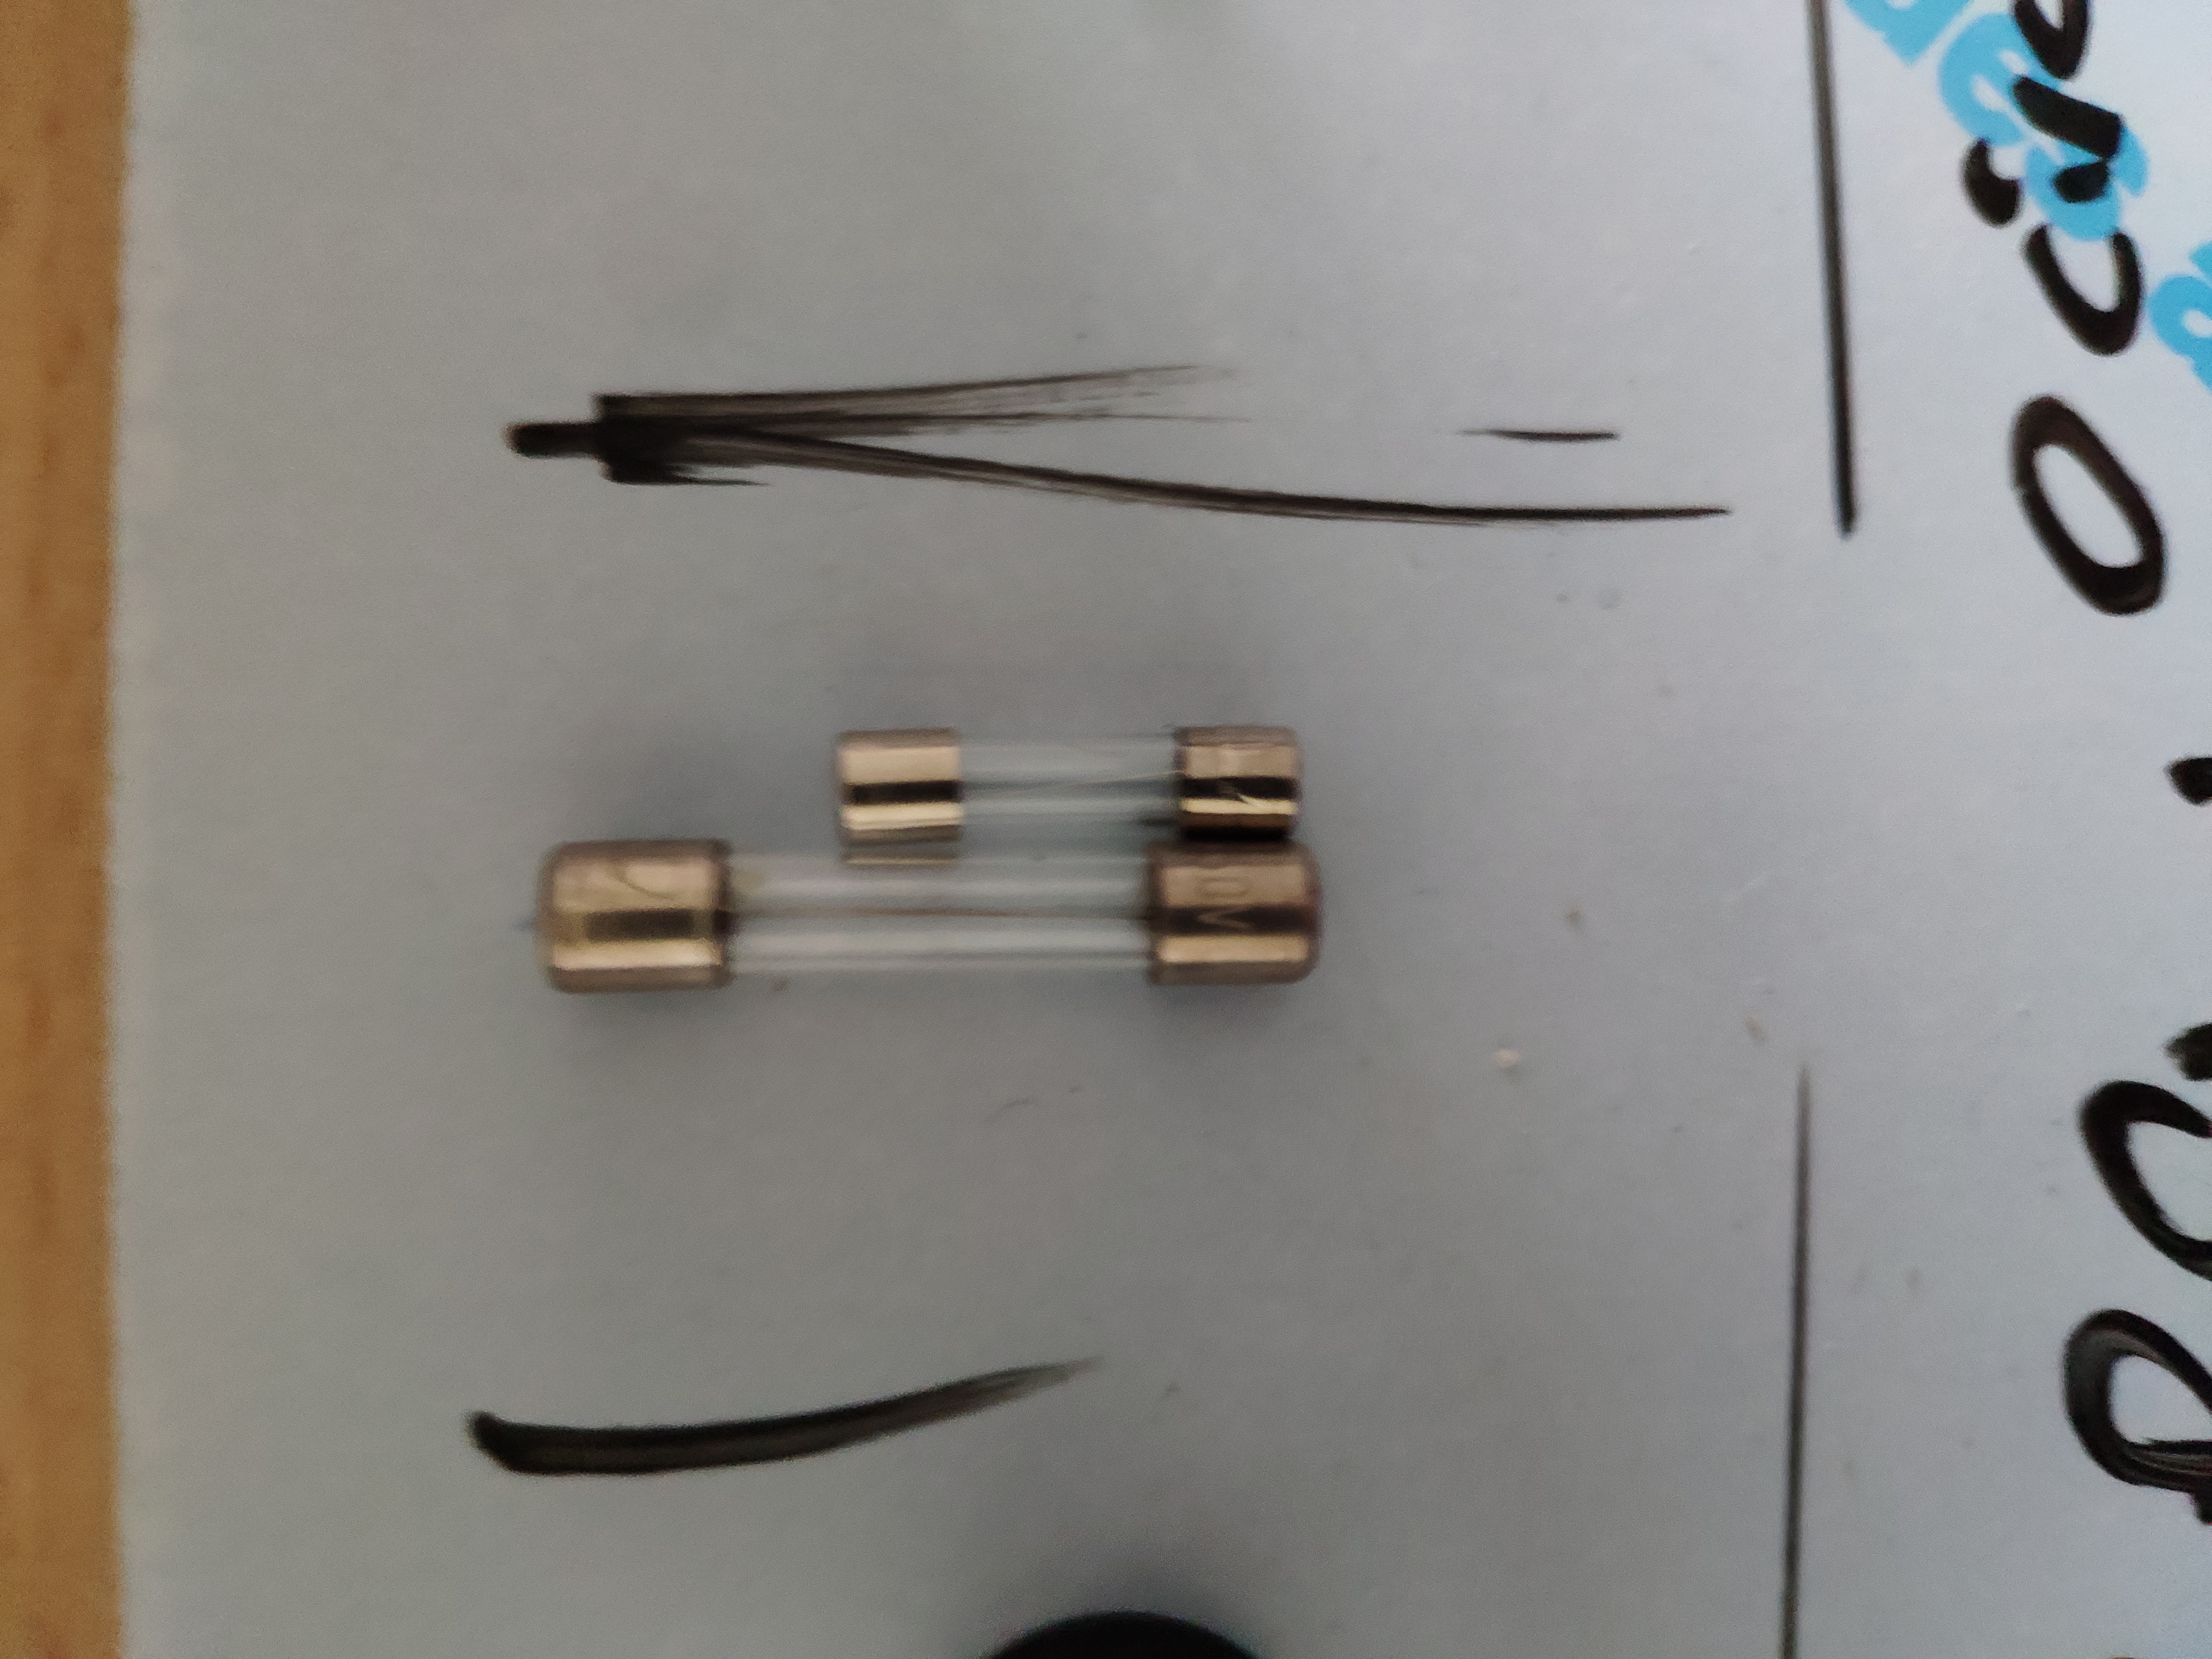
It has been a while since my last blog update, (1 day) more than 5 months to be exact. This post will be about, as the title suggests, trying to fix an oscilloscope. I recently bought an oscilloscope and it had some problems. To begin with, the oscilloscope would not even turn on. It is quite difficult to use equipment that does not turn on of course. To try and fix this oscilloscope, I first looked up the manual of the oscilloscope. Luckely for me I was able to find this online. The manual also included a schematic of the scope its circuit. After I found this it was time to open the oscilloscope up. Since it is quite an old scope, I had the luck that it was easy to find schematics and open the thing up without too much difficulties. Nowadays this might prove itself difficult, because companies do not want their products to be repaired. When I opend the scope up the first problem already became clear. The ground wire was not connected to its terminal and was just hanging loose in the case. After fixing this I wanted to replace the fuse, which was rated twice as high as reconmended. I ended up using this fuse, because it was not easy to find it in the right dimensions and it worked fine nontheless.
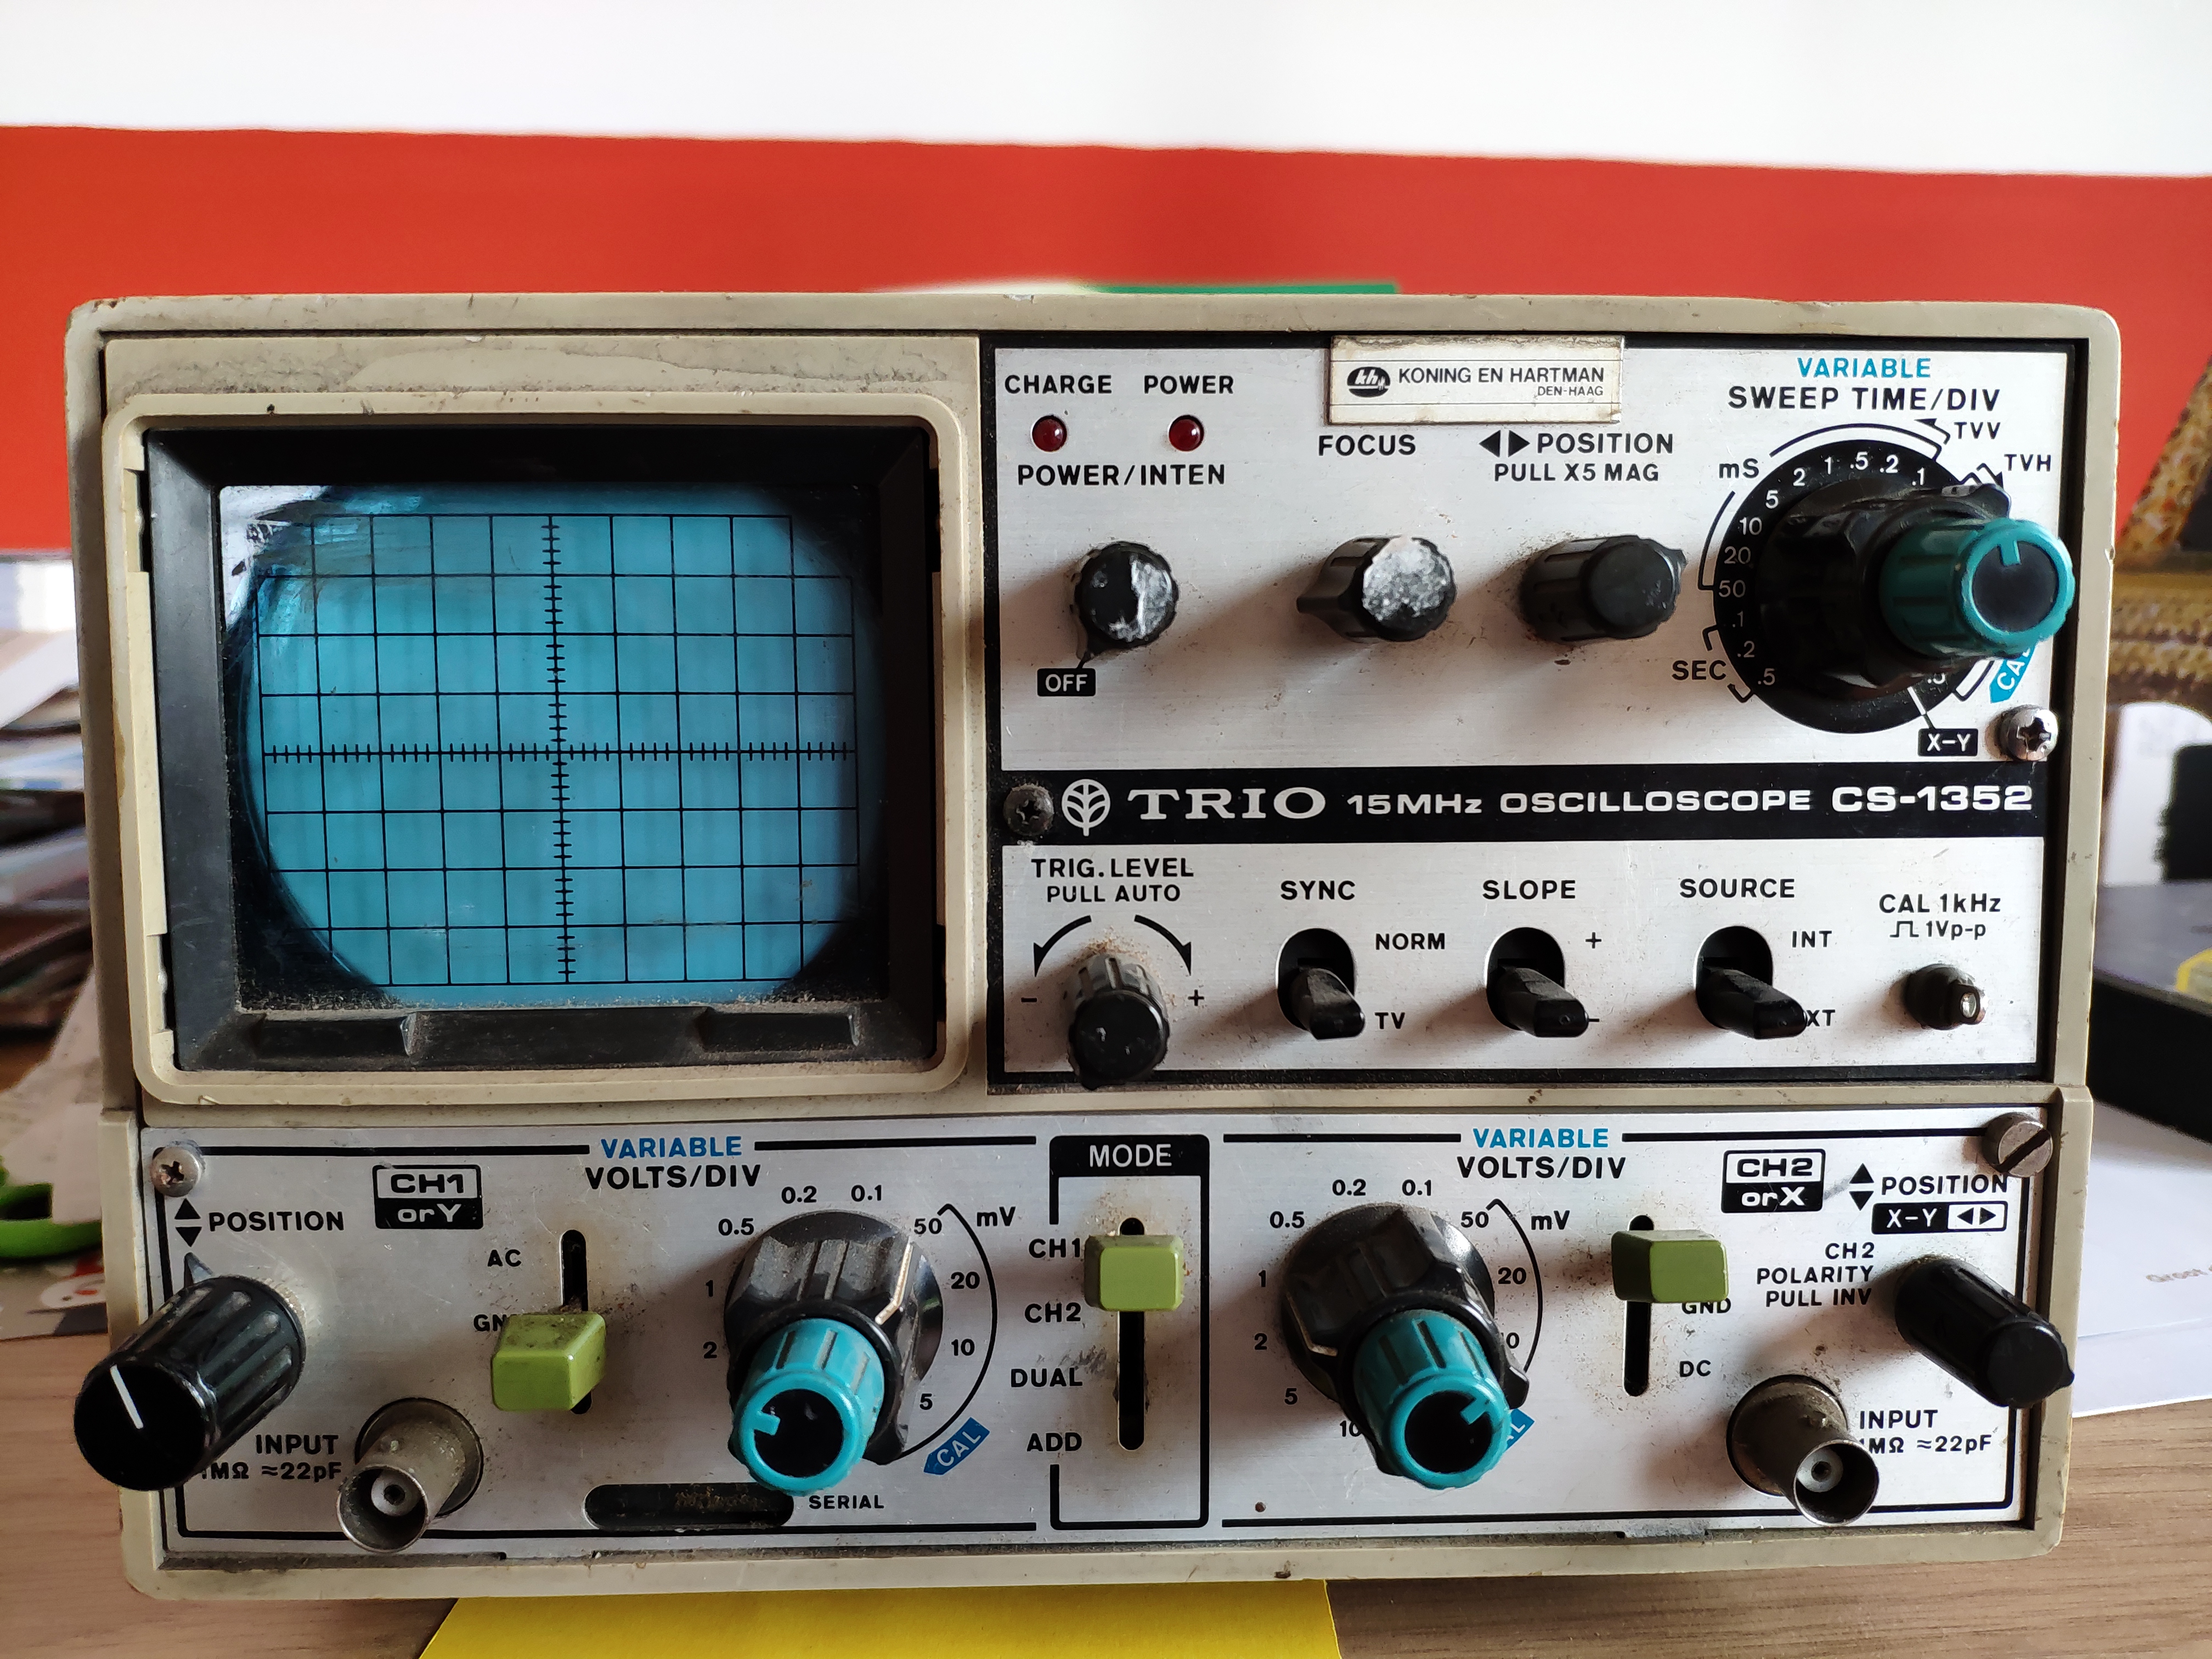
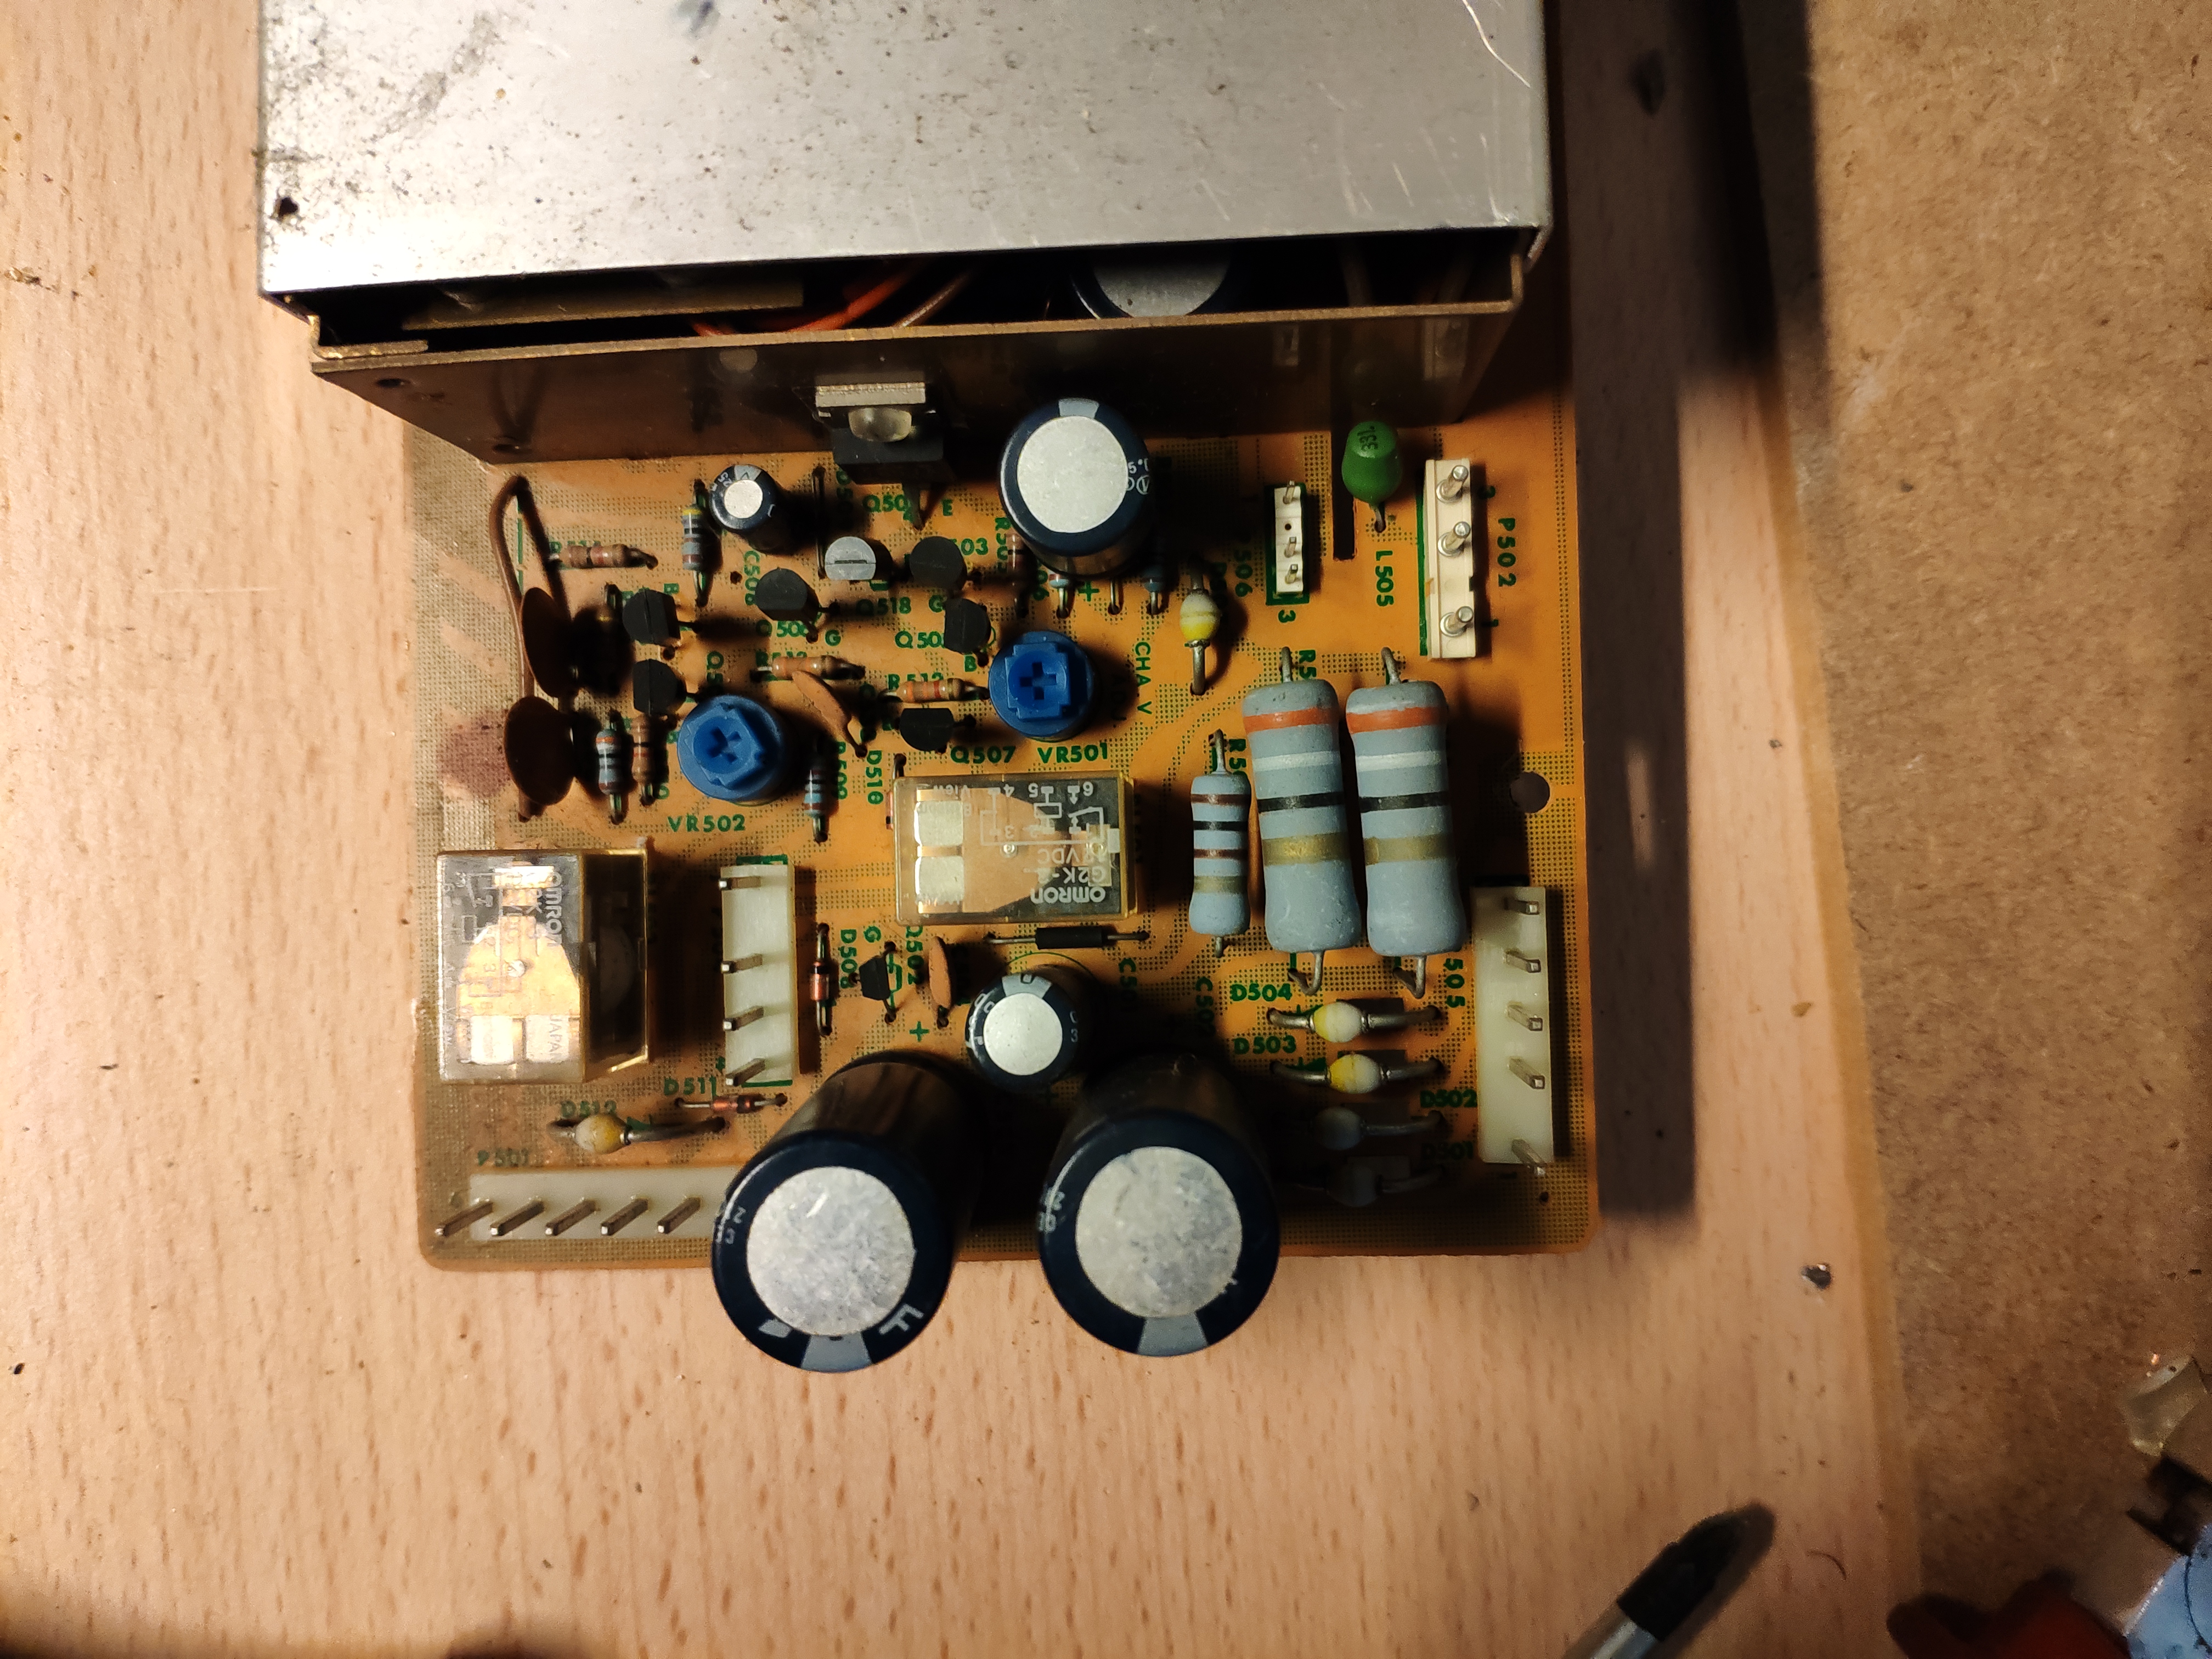
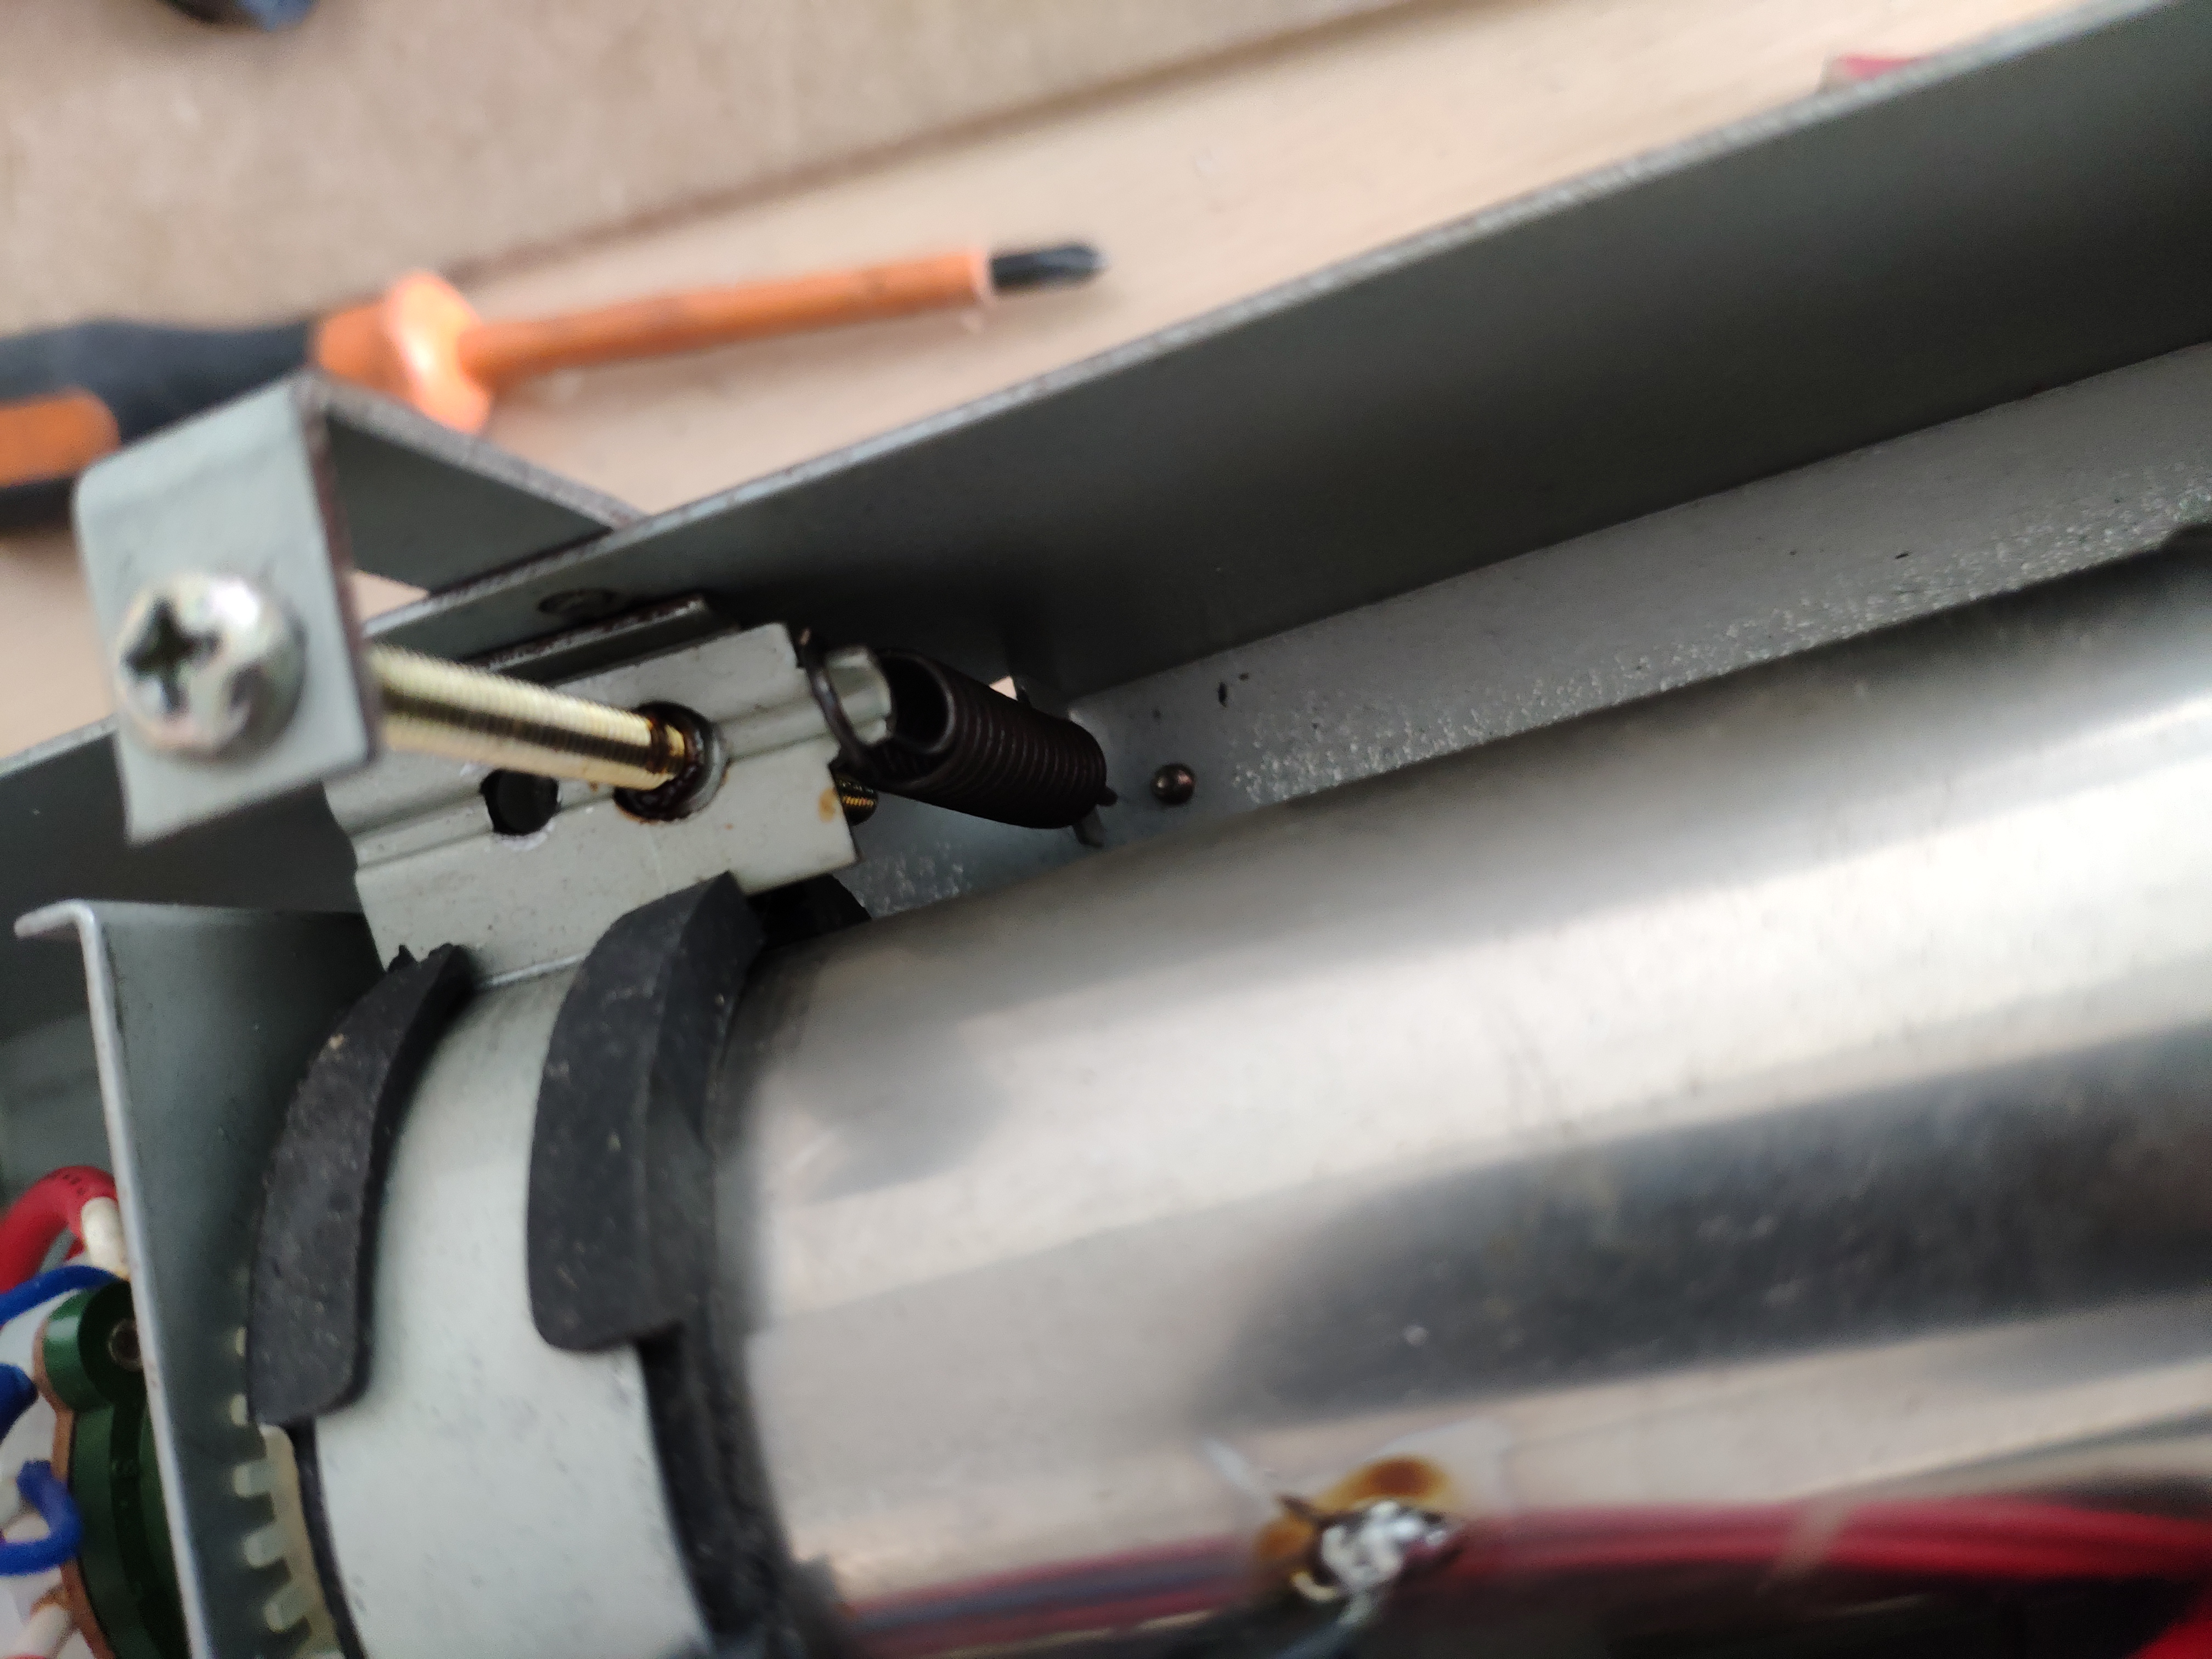
The second part was checking the reference voltages. The oscilloscope had a few points on the power supply board which had a reference voltage. Measuring these voltages showed that something was not right. This could of course be anything, but after some searching on the web I concluded that the problem could really well be the IC that is used for the power switching. To see if this is the problem, we look up the component's datasheet and find the pinout. Here we find the reference voltage and the value that this should have. Testing it in the circuit did not give a value even close. It became apparent that the problem lied in here. After replacing the IC with a new one the system turned on and seemed to be working. The only problem was that the signal was displayed at an angle of about 30 degrees. On the scope there is a screw that, when turned, adjusted the angle. This sadly enough did not work. To fix this, I removed the case and removed the bolt with everything attached to it. I then turned the CRT, which shoots the electrons to the screen, and the angle problem was fixed easily enough.
 The only problem that stayed was something that I looked over. The scope I have is not an oscilloscope, but a vectorscope. This is almost the same thing, exept where the oscilloscope measures against time, the vectorscope measures against another voltage. For now I do not yet have a fix for this and I can not really think of a good solution. The scope still works, but I use a camera to see the whole graph simultaniously without moving. A slight inconveniance, but not a big problem at all.
Module 1 Final expo
05-11-2019
Today was the final exposition for the first module of Creative Technology. We've been working hard on an interactive video. The video tells a story about a student who possibly could have a very bad day. If this is the case is all dependent on the choices you make. This video is now also added to my portfolio and you can watch it right here. The other groups also made some really interesting videos to watch. There were also posters hanging around. The posters all contained some sort of face and were ment as a campain for a company. You could also view some programs made in processing and there were some websites on display. During the exposition there was a contest running for the best video, but sadly we did not win. We also did not become last so I see that as a win.
Soldering workshop
02-11-2019
As said in the previous post, I attended a soldering workshop. We learned, as the name implies, how to solder. To try this out, we made a little 'device' that would create a tune based on a variable resistor. This resistor being the connection between a pencil and your hand. It worked by using a 555 timer IC, which created a varying square wave. This wave was sent to a speaker and the speaker put it into a rather annoying high frequency soundwave. I tried to make one too, but I failed horribly, which does mean my ears got saved from me creating the sound, but it also means that I am not good in structuring my work. At least not when it comes to soldering. Below you can find the schematic of the device and a picture of my attempt, which already misses some components.
Study Update: professional development
27-10-2019
We are nearing the end of the module and a lot of stuff has happened. One of those is our own professional development. Of course this is not only for this first module, but for the whole study. I have been doing some things these past months for my own professional development. I attended some guest lectures and some workshops. I have attended a total of 3 guest lectures and 4 workshops with the following subjects:
Workshops
- Photoshop
- Soldering
- Laser cutting
- Javascript p5
Guest lectures
- Athom
- Robby van Delden
- Kasia Zalewska
The workshops were really fun to do. Unfortunately I don't have an end result to show for all of the workshops, I could not print my final drawing for laser cutting. I will try to upload my program created for programming with Javascript on my website in a short time. And the end result of the soldering workshop will also be added to the portfolio hopefully not long from now. What I learned from the photoshop workshop, I used in creating my poster for Visual Communications. All the workshops were very informative and I learned quite a lot attending them. I must say that for the Photoshop and Javascript workshops the explenation went really fast and most of us could not keep up with this. It would have been nice if there was some form of recording of the workshops, so we could watch it back if we missed something. The soldering and lasercutting workshop were both more focussed on individual help and trying to figure it out yourself. This worked quite well I think. Sadly I could not get my 'device', made during the soldering workshop, to work. The workshops were over all interesting and as far as I am concerned good to attend to.
The guestlectures were interesting over all, but I feel like they were too wordy. I was really interested in the work done by dr. ir. Van Delden, but it felt like he kept repeating himself. I found his story about his academic choices interesting, but sometimes it felt like he told it just because it was asked of him and not because he was self motivated to talk about it. On the whole his story was quite interesting and he explained what interested him in his field and why he does what he does. The second guestlecture I attended was by Kasia Zalewska. She started with telling about what was important for her: pursuit of happines. This was quite interesting, but not really necessary in my opinion. She went on to tell about her academic choices, the studies she did and how she ended up here. This was quite interesting and went really fast in my opinion. Certainly because after that she talked about the raintower made by fellow CreaTe students. This was an interesting story, but if the guestlecture was focussed so heavily on this project, why not ask the project team to talk about this? It was an interesting lecture but it felt a bit out of place. The last guestlecture I attended was by Athom. Athom is the company that produces Homey, a smart home device developed by old CreaTe students. This guestlecture was really interesting. They talked about Homey and how it was different than smart home hubs like the ones from Google and Amazon. The presentation also showed how the Homey system worked. What they did not talk about were the career options for a Creative Technologist, which was a pity.
I think these guestlectures and workshops were a great begin for professional development, as I try to figure out what I want to do within and after the study. I think it is important to know what you are working towards and what the end goal is. Professional development gives us the opportunity to do so.
Reviews
20-10-2019
It has been quite some time since the last post and I updated some minor things to the website. You are now able to contact me through email or Instagram (check the about me page). I am also working on a new entry to the portfolio and I am quite excited about it.
Since I am not the only one developing a website, my fellow students are making some awesome sites as well, I reviewed three of their sites today.
First review
The first I reviewed was the website made by Mark Tool (check it out) and it is really good. He has some awesome work displayed there. The website itself also looks really good. The lay-out is really clean and he made it so fun to read (e.g. the why so many questions?!? tab). He also used (on the Who am I? page) a nice style for texts. The borders on both sides are really nice. Most people overlook it when they look at a site, but these borders are so important for reading a website. Our eyes do not like to move too much when reading and having less characters on one line helps with that. Sadly it was still wordpress, so there were no real personal touches in design to notice on a technical level.Second review
I also reviewed the site of Olivier Boots (Link to the site). This one is a bit more basic than that of Mark Tool. This might be because he wrote his own css instead of using WordPress. I think it is really cool to write your own css, but on the other side, the use of a already existing stylesheet is also really useful. The fact that he used his own css is for example noticable in the navigation bar, where the button and bar both have a border, so it looks double for the buttons. The website is really colorful, but I don't think the colors really work together. It might be that the designer wanted this, but it weirds me out a bit. The website does not offer a lot of information about himself, which is a pity. If he put in a little more work it would be so much better, I think.Third review
The last site I reviewed is that of Tale Nap ( This site). To start off, he has a really unique start page. I think it looks really cool. The professionality it displays is doubtable to say the least, but it does show his creativity. He made his own css and used some javascripton his site, the portfolio and search bar are well tought of and well executed in my opinion. It does look a bit chaotic in my opinion. The content on the website is really good. He gives a lot of information in the portfolio about the projects that are on display, but some of the images/videos don't work. If he would put a bit of work in the design this would be an awesome site.Conclusion
I also looked up the sites on my mobile device. All sites work quite well with a mobile device. The site of Mark Tool was the best with this, because it has the best design fitting for mobile devices, nontheless they all worked like they were supposed to. To conclude the review I made a table comparing the three sites.| Mark Tool | Olivier Boots | Tale Nap | |
|---|---|---|---|
| Last Post | 15-10-2019 | No date specified | 02-10-2019 |
| Portfolio Items | 2 items | 1 item | 3 items |
| Social media | None | None | None |
| Mobile performance | Excellent | Good | Do-able |
| Review score | 4.2 | 2.4 | 3.2 |
Reviewing a site of one of my 'peers' was a good exercise. This way I saw what others were up to and how they thought out their design. It helps with creating your own site and thinking of ways you could maybe implement something you did not think of yourself, but what turned out to be really handy.
Website design
01-10-2019
Over the past few weeks I added some things to the design of the website. While we started at pure HTML, I now implemented the CSS files from W3-schools as you can see on the front page already with the covering image. I added more webpages to the website and you are able to navigate through it with the navigation bar at the top. This is also done with the help of the CSS-files from W3-schools. In the portfolio page I implemented some CSS from bootstrap and also a portfolio css file from the site itself. Another design choice I made on the website is the text is brought to the center and the lines are about 100-120 characters in length. These shorter lines in the middle of the screen are much better and easier to read.
That were some of the design choices I made for the website. I hope to be back soon with another website update in the blog.
Portfolio update
01-10-2019
As for today there is a second addition to the portfolio. It is something completely different from the previous entry. This time it is a tabletop. The project was my first big woodworking project, aside from all the things we did as kids. The tabletop is now part of my desk. It is quite large, almost 2 meters. If you are interested in checking this out, here is a link. The tabletop
The making of a video
25-09-2019
For the study CreaTe we have a project each module. This first module the project is an interactive video, where the viewer gets to decide what happenes in the story. As to so far we have had a workshop on making a movie, writing a script and think of camera shots. We have been busy with gathering equipment and looking for ideas. The equipment is coming together quite well. So far we have two DSLRs and a microphone. We do have to think very carefully about the light. We also have a good subject for the video. We want it to be around a student who is destined to die. Your job is to make the right choice and prevent that from happening. How you will do that? That I can (obviousely) not tell.
Portfolio entry
23-09-2019
My first entry to my portfolio is added today. The portfolio will show work from me as a designer, there will not be any photos uploaded, but the work I will post on my portfolio will hopefully be just as great. The item will be an RGB lamp reacting to music being played. You can check it out right here.
The RGB lamp
Website update
11-09-2019
As of today, there is a new update on the website. I have created a gallery page. On the gallery page I will display my work as a photographer. I hope to add a live feed from my Instagram on there, but for the moment it will be just a gallery with some of my pictures. This will be it for the short update about the website and I hope to see you back next time.
GogBot 2019
09-09-2019
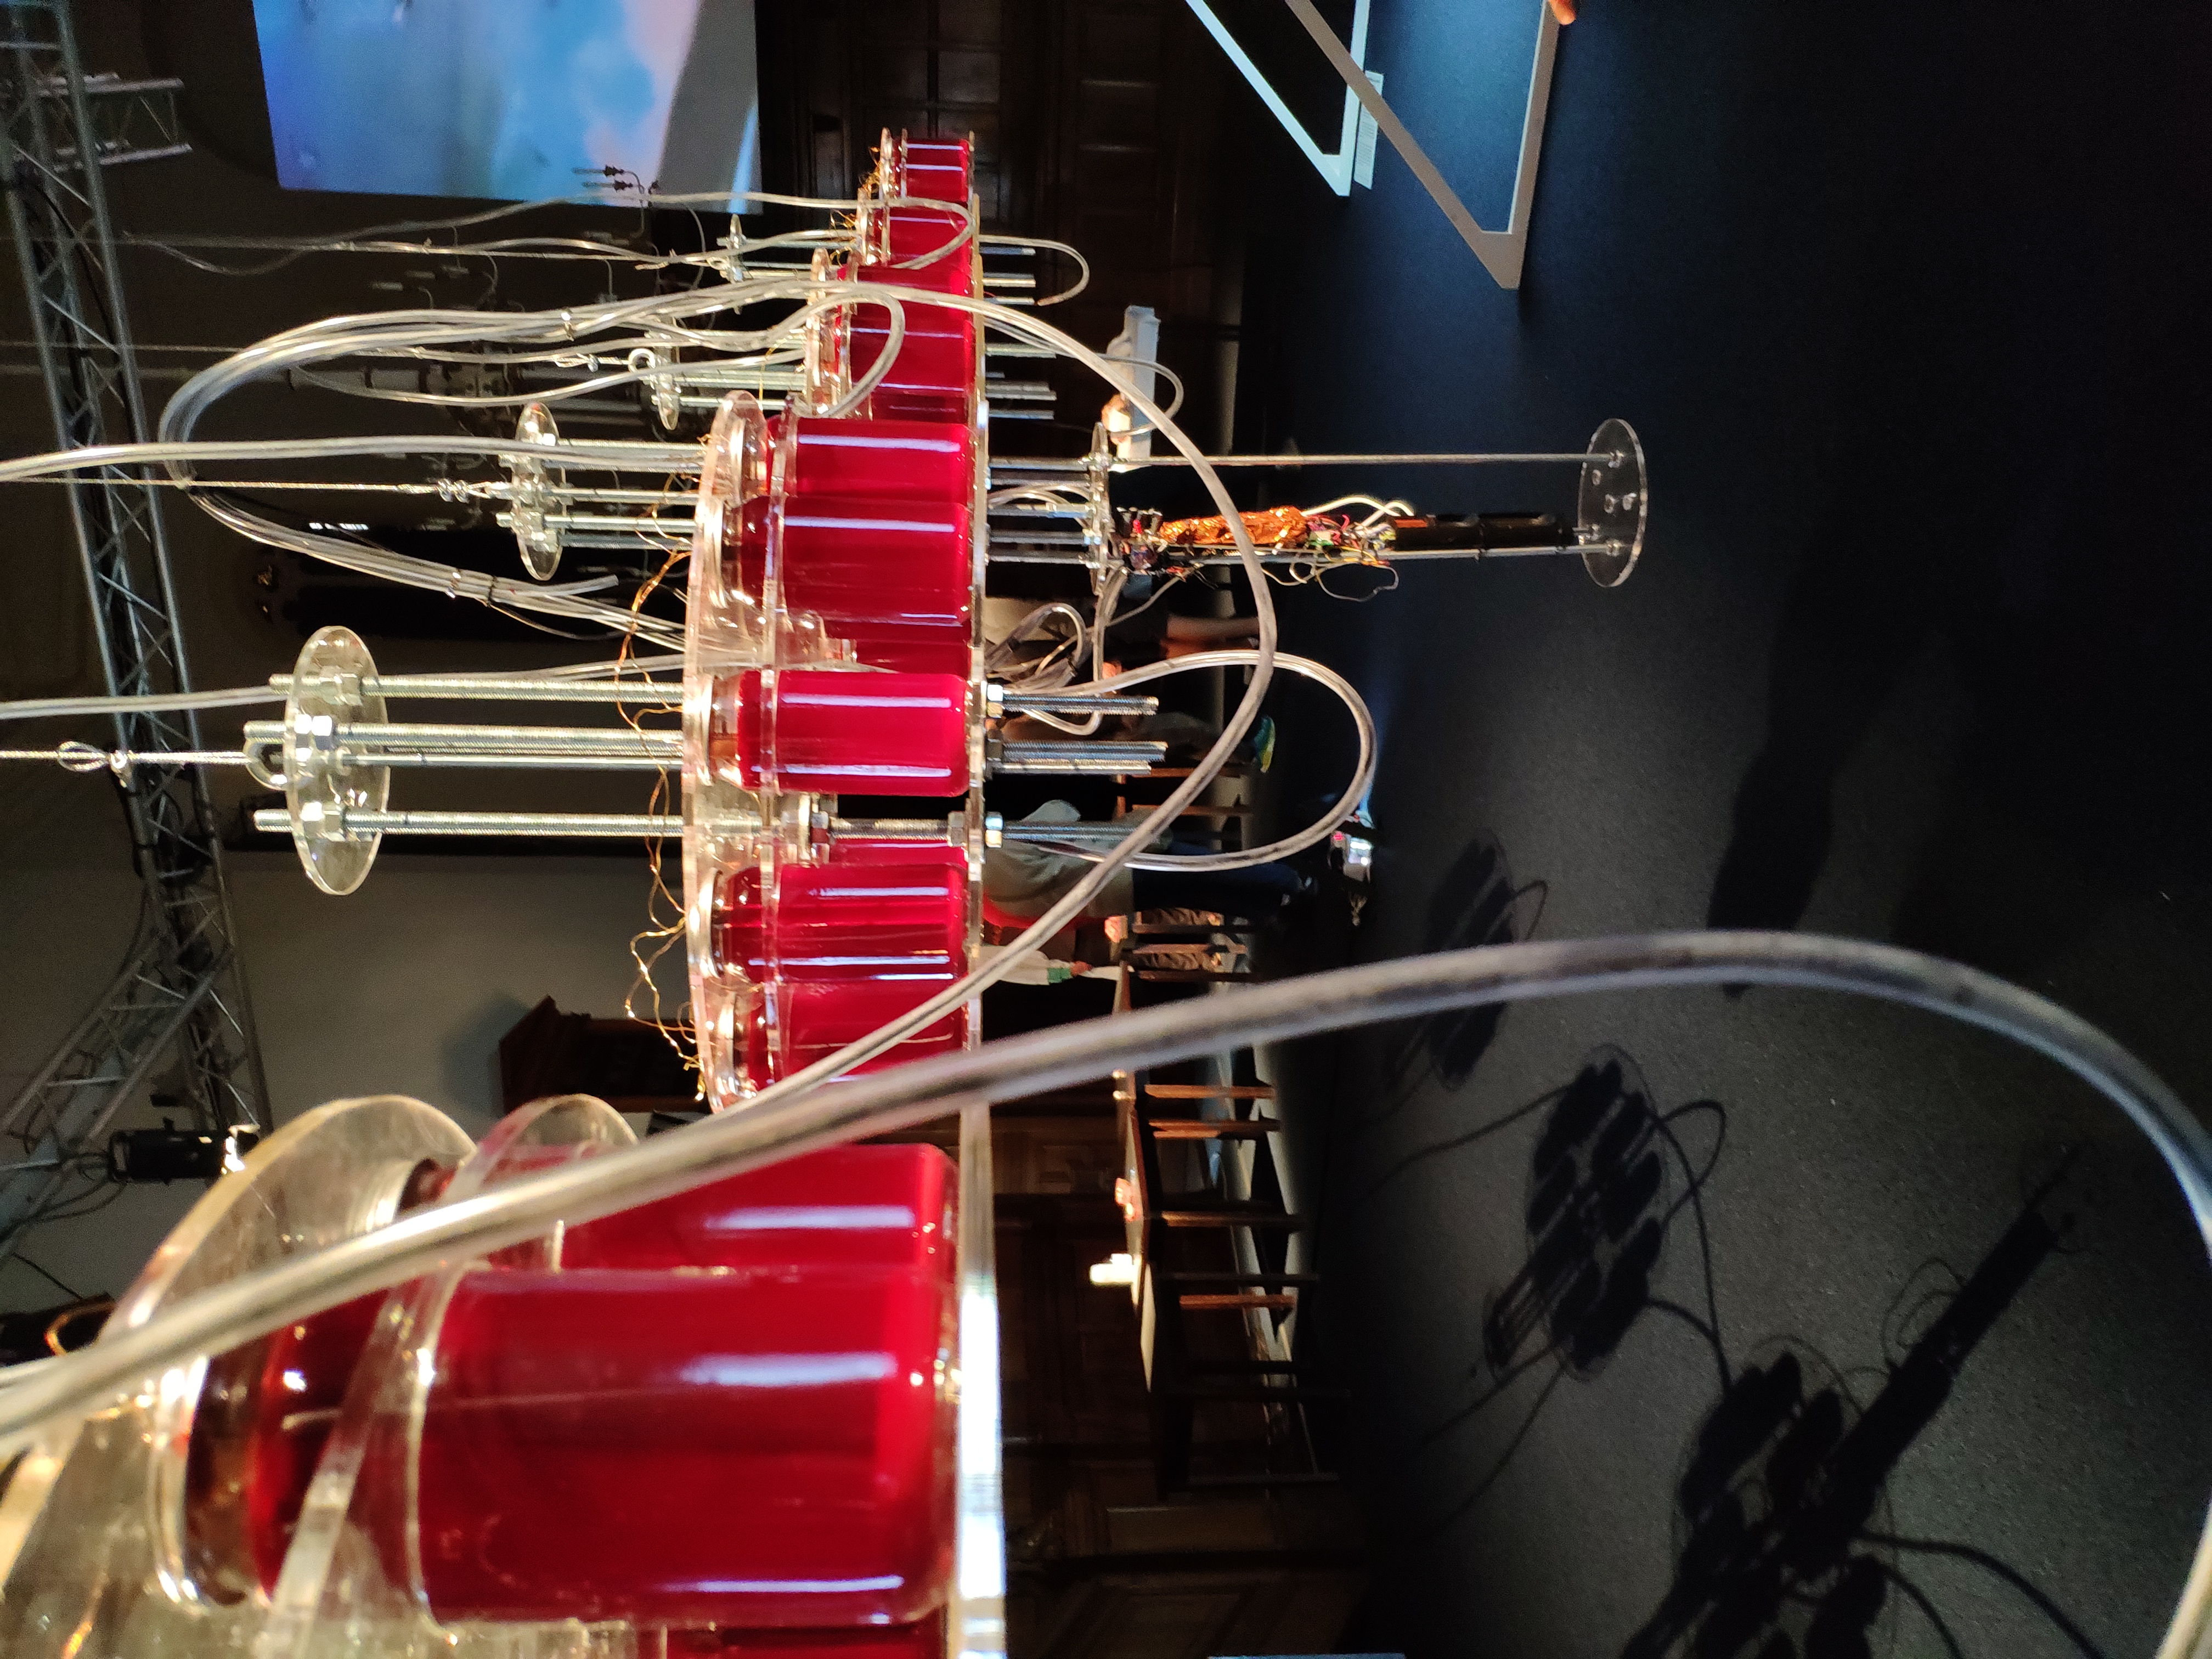 Another day, another blog. My second blog has arrived too (woohoo). I went to GogBot this week and it was quite an experience. This was my first time to GogBot ever, so I had no idea what to expect. The theme this year was: Bio The New Digital. There were a lot of things to see and a lot of things I did not understand, but most of the installations were really interesting. There was for example an installation with the face of Elon Musk on the front, smoking a joint. It raised the question why we should care if someone with a high reputation smokes joints or not. Some people will think it is wrong, but if you ask me, I think it is not for us to say what he does. Why should a normal person be allowed to smoke, but someone famous not. On the other side, I do not know if it is wise to smoke joints on public television. There were also some other installations. The most interesting was a battery made out of the blood from the artist that made it. It is called 'Until I Die' and it uses the energy to create a sound. The artist called the sound his 'lifesound'. I found it really interesting that we could produce electricity from our blood and it lined up perfectly with the main theme of the event.
I think that is it for this blog, I hope to see you back next time.
Link to an artical about 'Until I Die'.
Another day, another blog. My second blog has arrived too (woohoo). I went to GogBot this week and it was quite an experience. This was my first time to GogBot ever, so I had no idea what to expect. The theme this year was: Bio The New Digital. There were a lot of things to see and a lot of things I did not understand, but most of the installations were really interesting. There was for example an installation with the face of Elon Musk on the front, smoking a joint. It raised the question why we should care if someone with a high reputation smokes joints or not. Some people will think it is wrong, but if you ask me, I think it is not for us to say what he does. Why should a normal person be allowed to smoke, but someone famous not. On the other side, I do not know if it is wise to smoke joints on public television. There were also some other installations. The most interesting was a battery made out of the blood from the artist that made it. It is called 'Until I Die' and it uses the energy to create a sound. The artist called the sound his 'lifesound'. I found it really interesting that we could produce electricity from our blood and it lined up perfectly with the main theme of the event.
I think that is it for this blog, I hope to see you back next time.
Link to an artical about 'Until I Die'.
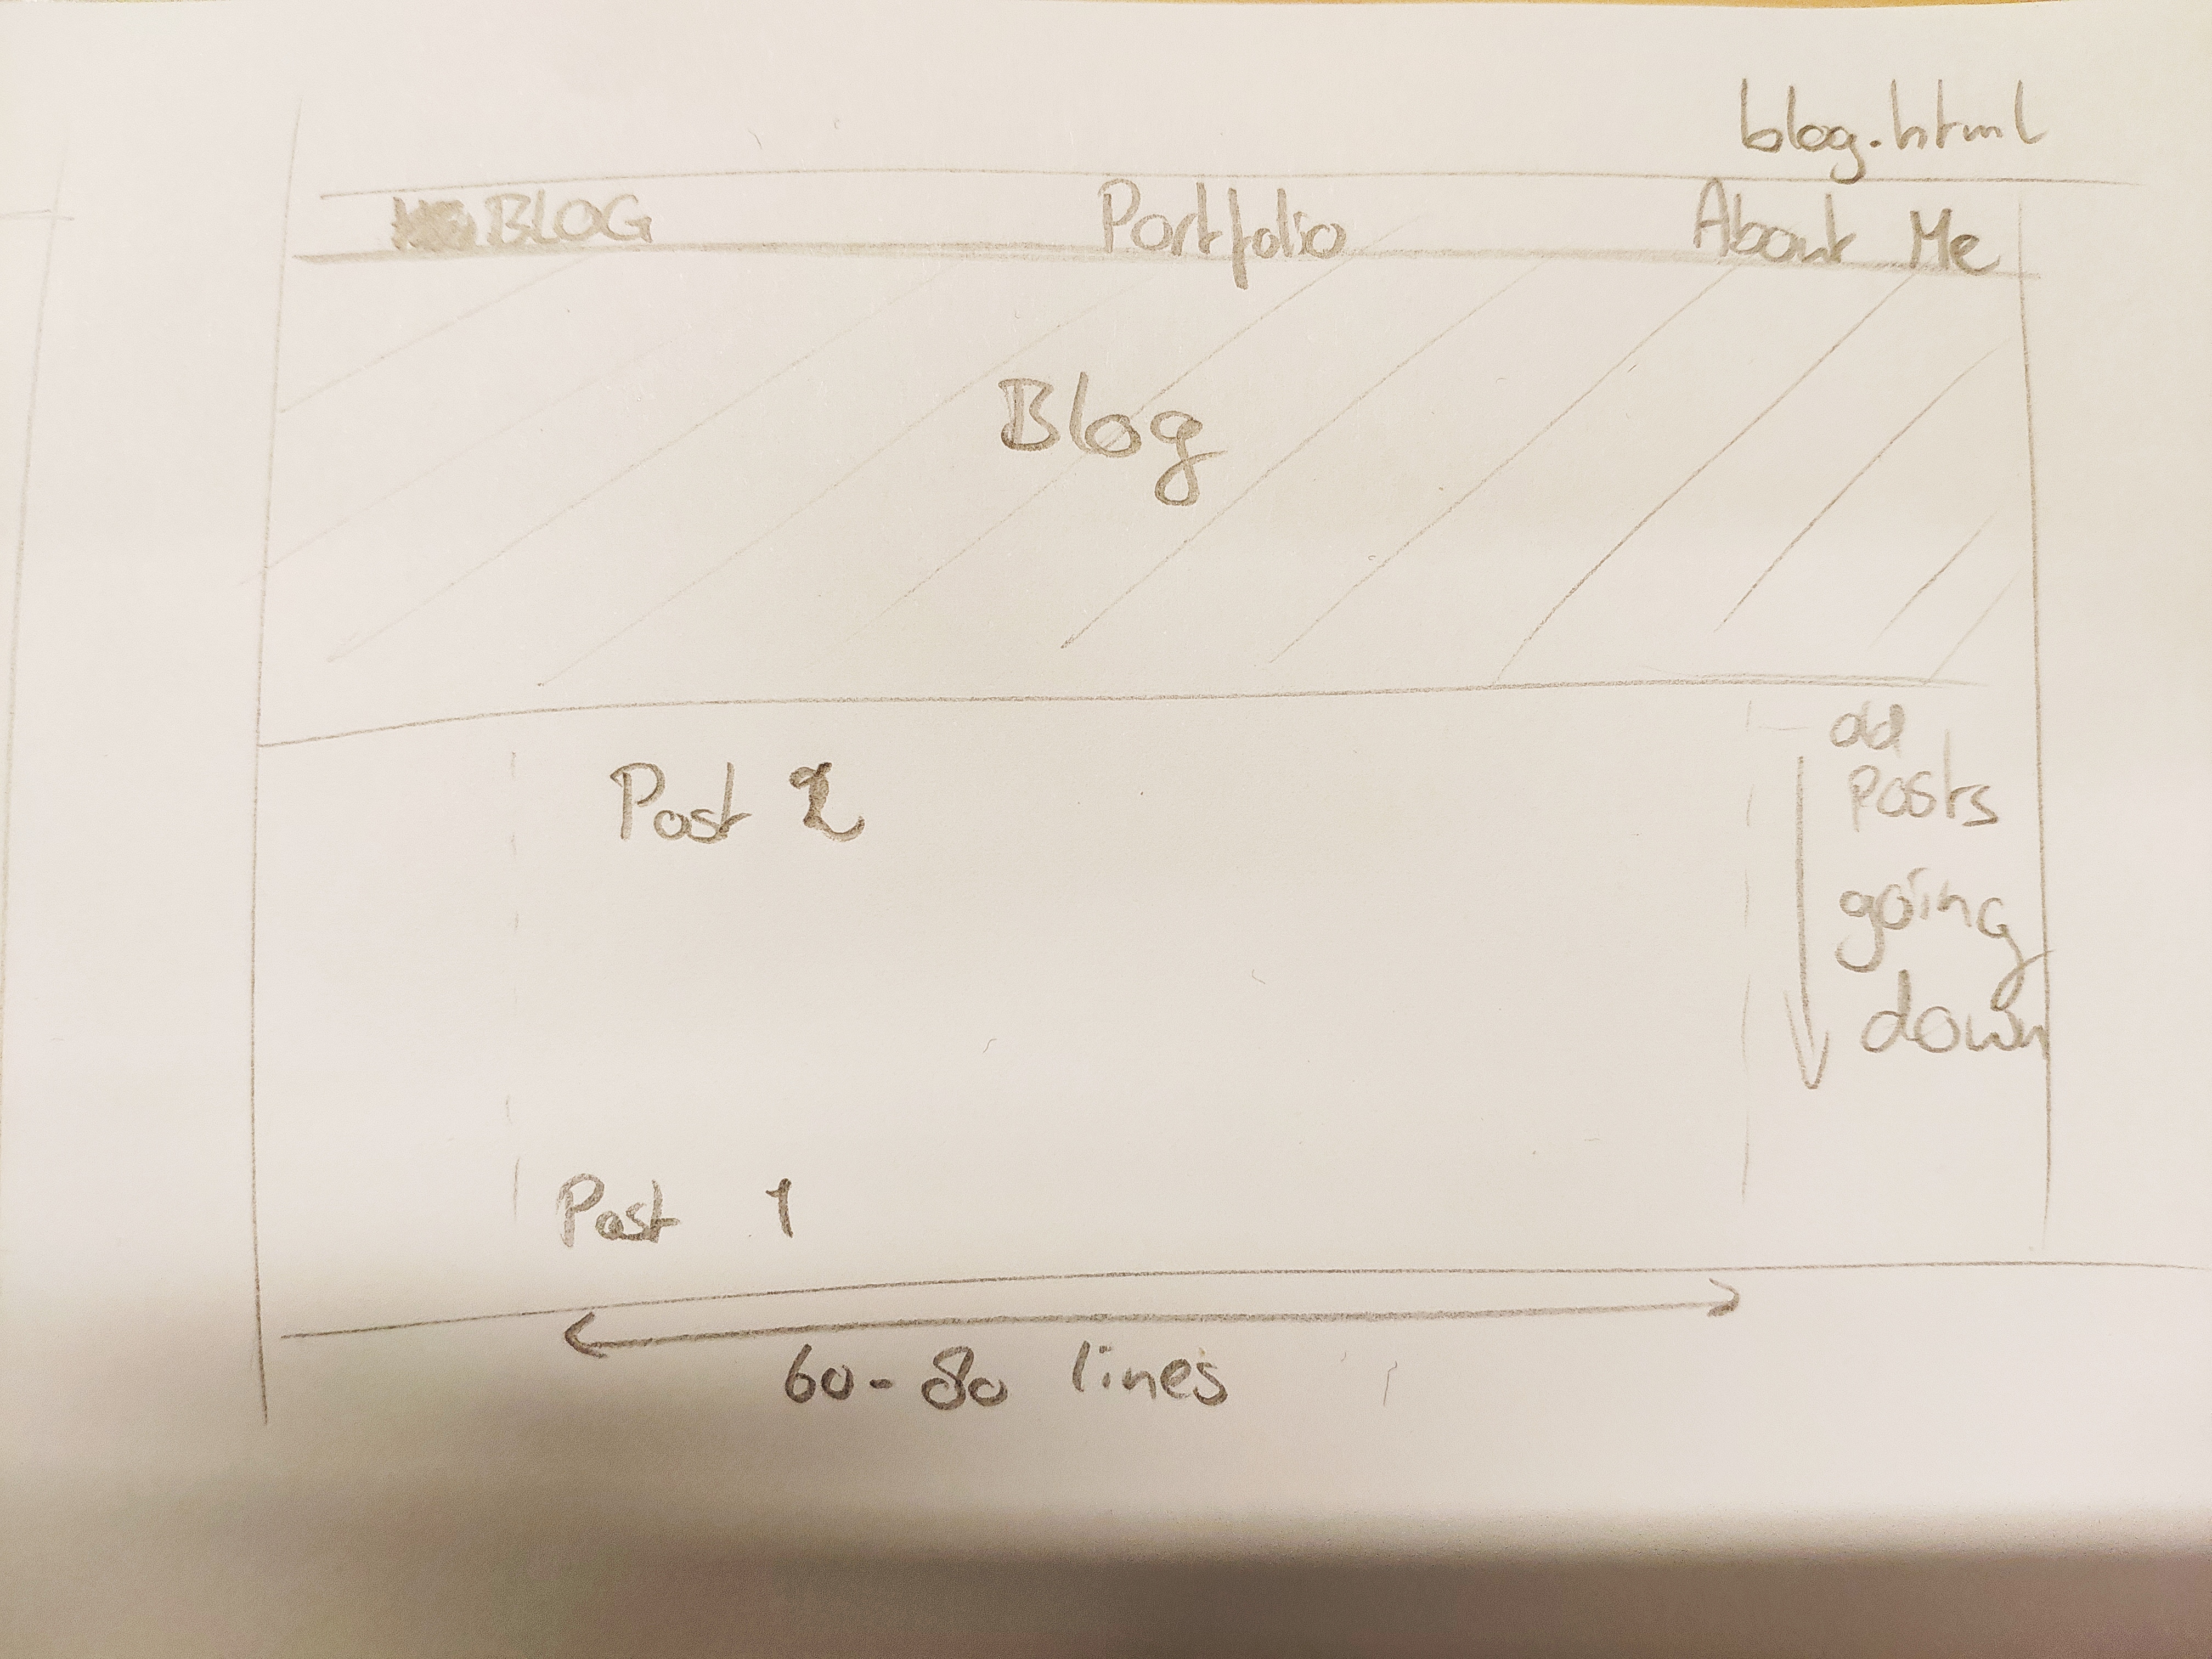
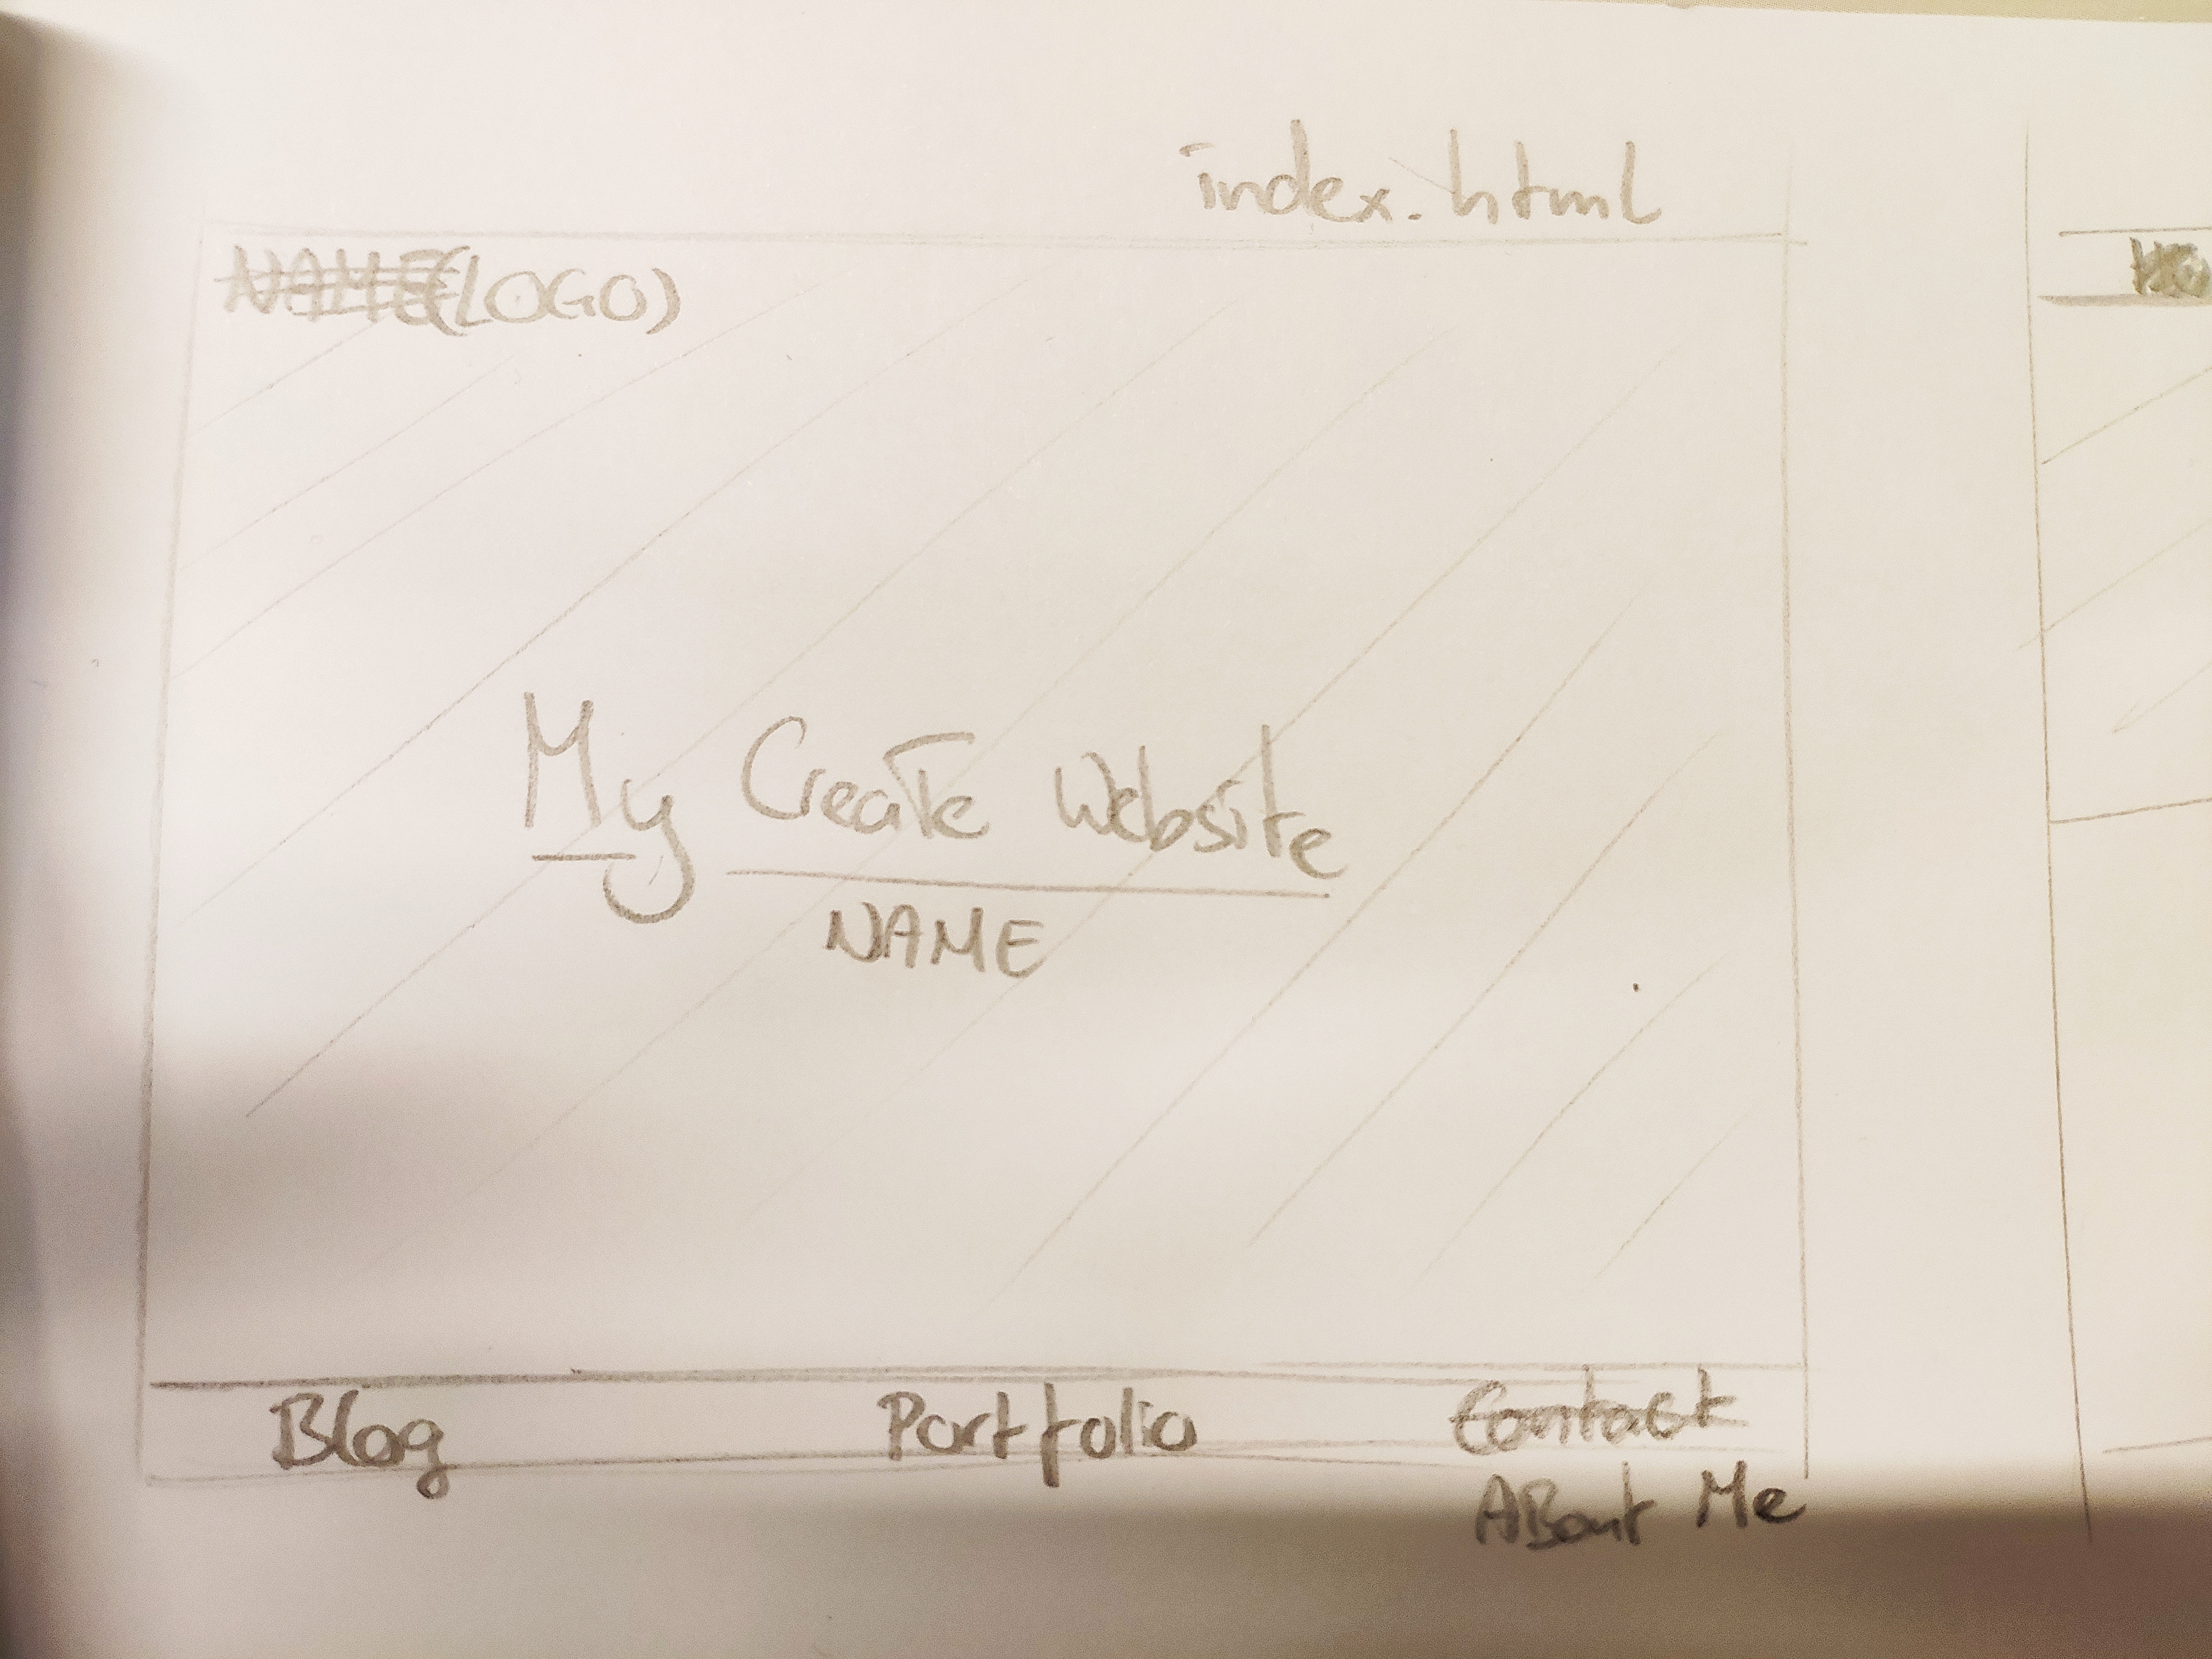
First blog
08-09-2019
My first blog is here. I don't really know what to write, but I will figure something out. I have been working on this website for a bit of time and I hope it will improve over the coming weeks. Maybe my blogging skills will improve too as time goes on. At the moment I am making a second page for this blod, I do not yet know if it will stay this way, but we will see. I am also trying to introduce a bit of stylesheets in the website. Besides that I will upload a basic sketch of the website in a while, so stay tuned for that if you are interested. I think that will be it for my first blog. Next time I hope to have something interesting to read (besides the building of a website ofcourse (: ).