During the session, me and my group really only got to properly play with LittleBits and BYOR, but I have added some extra materials to analyse in the spreadsheet. In this material table the ranking works with plusses and minuses where the more plusses something has, the better is in in that specific category. That means more plusses doesn’t immediately mean more of that thing. Cardboard gets two plusses for “Skills needed” since it has a very low skill requirement. There’s no real baseline for ranking a material, the materials are compared against each other to and ranked accordingly. The spreadsheet contains sixteen “concepts”, some of which I would like to elaborate on a little since they won’t immediately make sense. I tried to capture what I think is important in a tinkering toolkit but I haven’t nailed the exact word yet so a few concepts will be somewhat similar. “Customizability” for me is about how easily you can roughly shape your vision in the material. Famously, Lego will let you build anything, but this does not hold for LittleBits. “Skill Ceiling” means how “good” you can get at using the material. BYOD doesn’t offer any real skills to develop, but Lego builder is a full-blown job. “Scope” is the closest I have gotten to the concept I eluded to in my week 1 design assignment, namely how many combinations you can make with just a few components. Lego is again king, while LittleBits and BYOD don’t rank as high. I added “Tinkering layers” after noticing how the LittleBits set has two distinct levels of tinkering going on. There’s the slotting together of modules, but also the playing with how the individual modules work. This gives two levels on which you can tinker which is desirable to give users more to play with. I hope the rest of the attributes are clear enough, so below is the spreadsheet as it currently stands. In spirit of the Kees Torn book I mentioned in week 1, I also added language as a material. I understand it’s not entirely applicable with tinkering traditionally being such a physical process, but I still believe tinkering with language has a lot in common with the tinkering described by this course. The sustainability attributes aren’t applicable to language however, so I’ve crossed those out.
To me, the main takeaway from this spreadsheet for now is how ease-of-use and scope attributes seem to be hard to combine. This isn’t too surprising, but still good to note I think.
Group work
During the cardboard session, my group attempted to make a snail which could scratch someone’s head. How exactly this idea started I don’t remember but the result can be viewed below.
It was informative to see how quickly every group and every person within my group went in totally different directions with cardboard. As a material it’s infinitely malleable to one’s own idea and vision there’s little thinking and planning involved. With a rigid building block like Lego there’s always a planning aspect of what pieces and connections will best fit the envisioned design but for cardboard it comes down to ripping and tearing until it’s done. That makes it more immersive, though goofy stuff very quickly becomes the focus when you can make anything. Restrictions are often a good way of forcing creativity and cardboard is maybe too free on that front. Either way, the session was a lot of fun and we were quite pleased with how our snail turned out.
Building Block Design Iteration
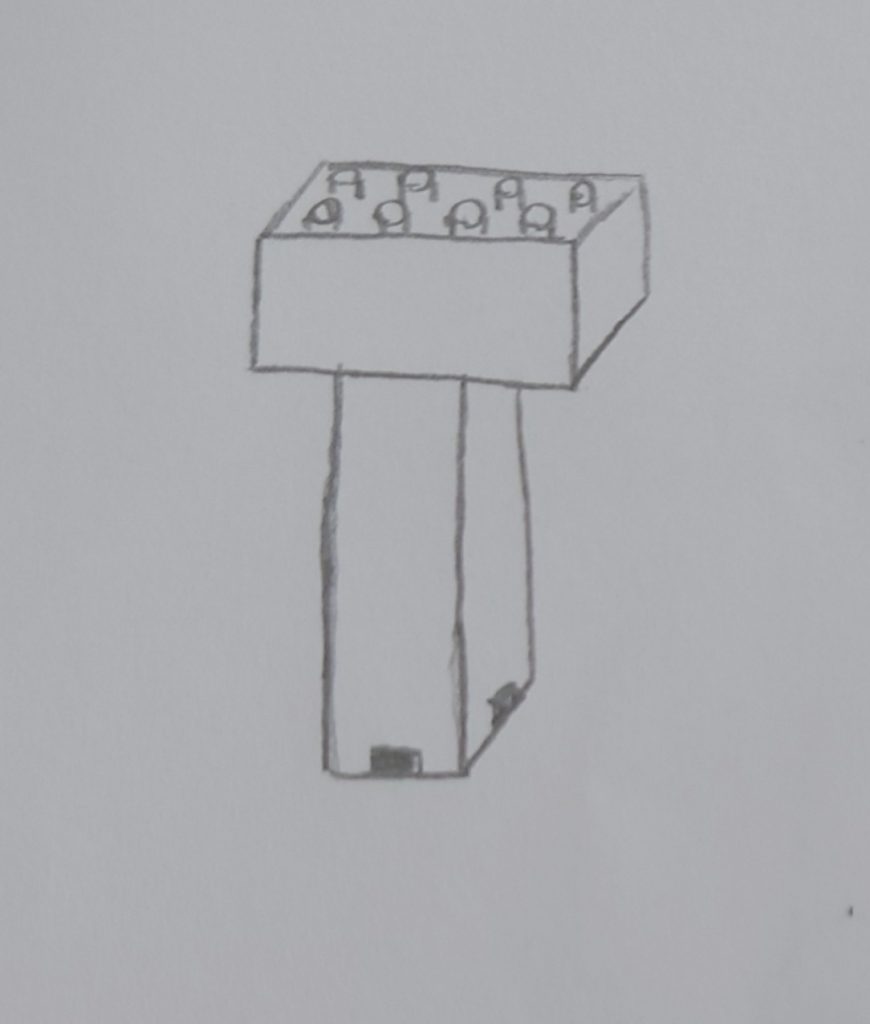
The system I sketched up in week 1 wasn’t very original, but it does allow for easy adaptation to add other types of building blocks. Similarly to the fantastic free universal construction kit you can just stick a copy of the desired building block onto a stick piece and there you go. I sketched a version with a Lego block, and an example with the maker beam system which integrated particularly well. I feel compelled to apologise once more for my sketching skills.
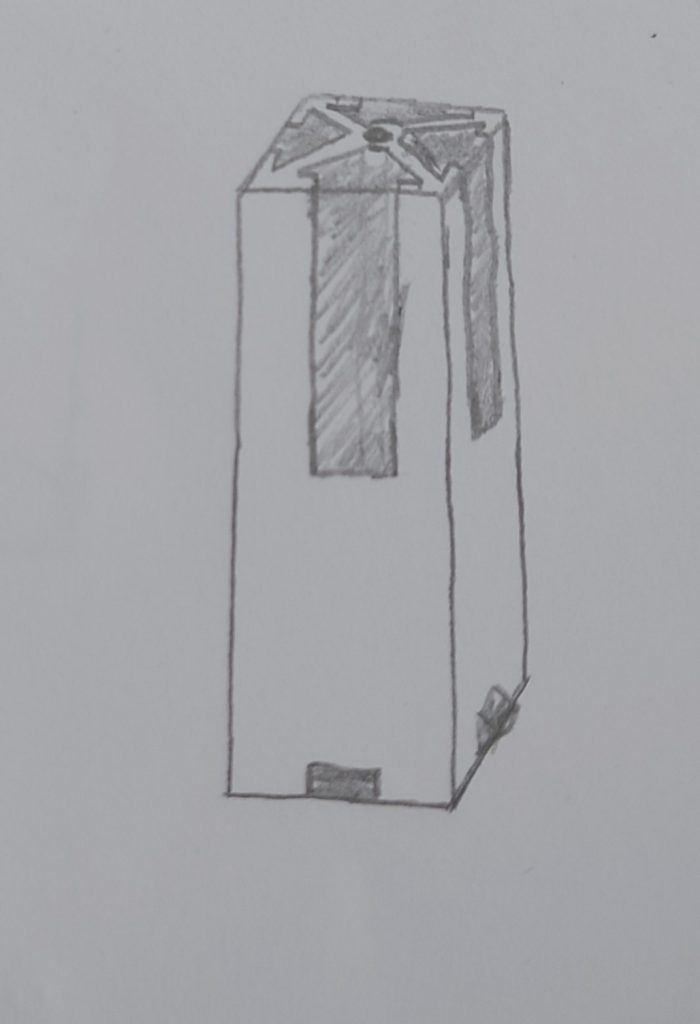
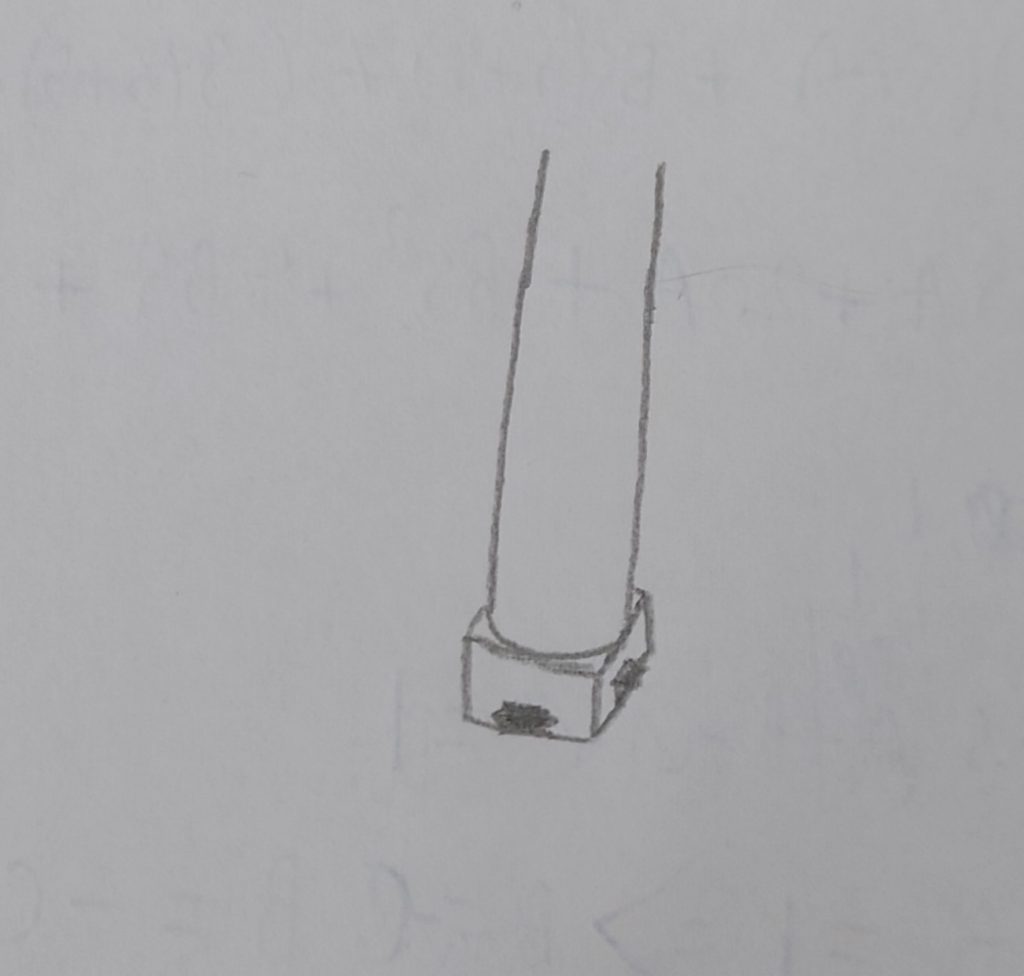
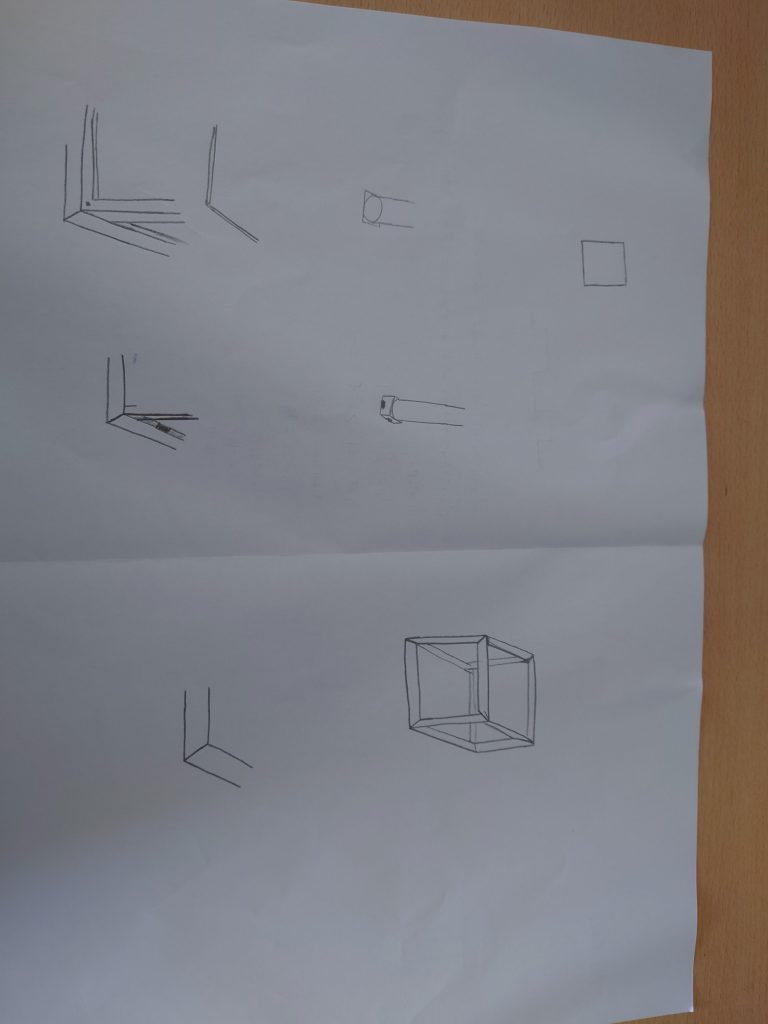
Designing for higher affordance proved more difficult. Since there is really only one way to combine the pieces that’s the only thing that can and should be emphasised for higher affordance. I tried changing both the hub and stick piece a bit, so they would more clearly communicate how they go together. I changed the stick piece such that it has a cylinder in the middle and only the ends are square. I can imagine someone seeing the two building blocks and thinking the stick piece can go all the way through the hub piece, so this change is meant to communicate this is not the case. With the hub piece, I tried to add angled guiding edges which would guide the stick piece into the slot a bit. However, this is really where I run into the limitations of my limited sketching abilities so I wasn’t able to get it on paper in a clear way. Below you can see the best attempts at drawing these two pieces as well as the other drawing attempts.